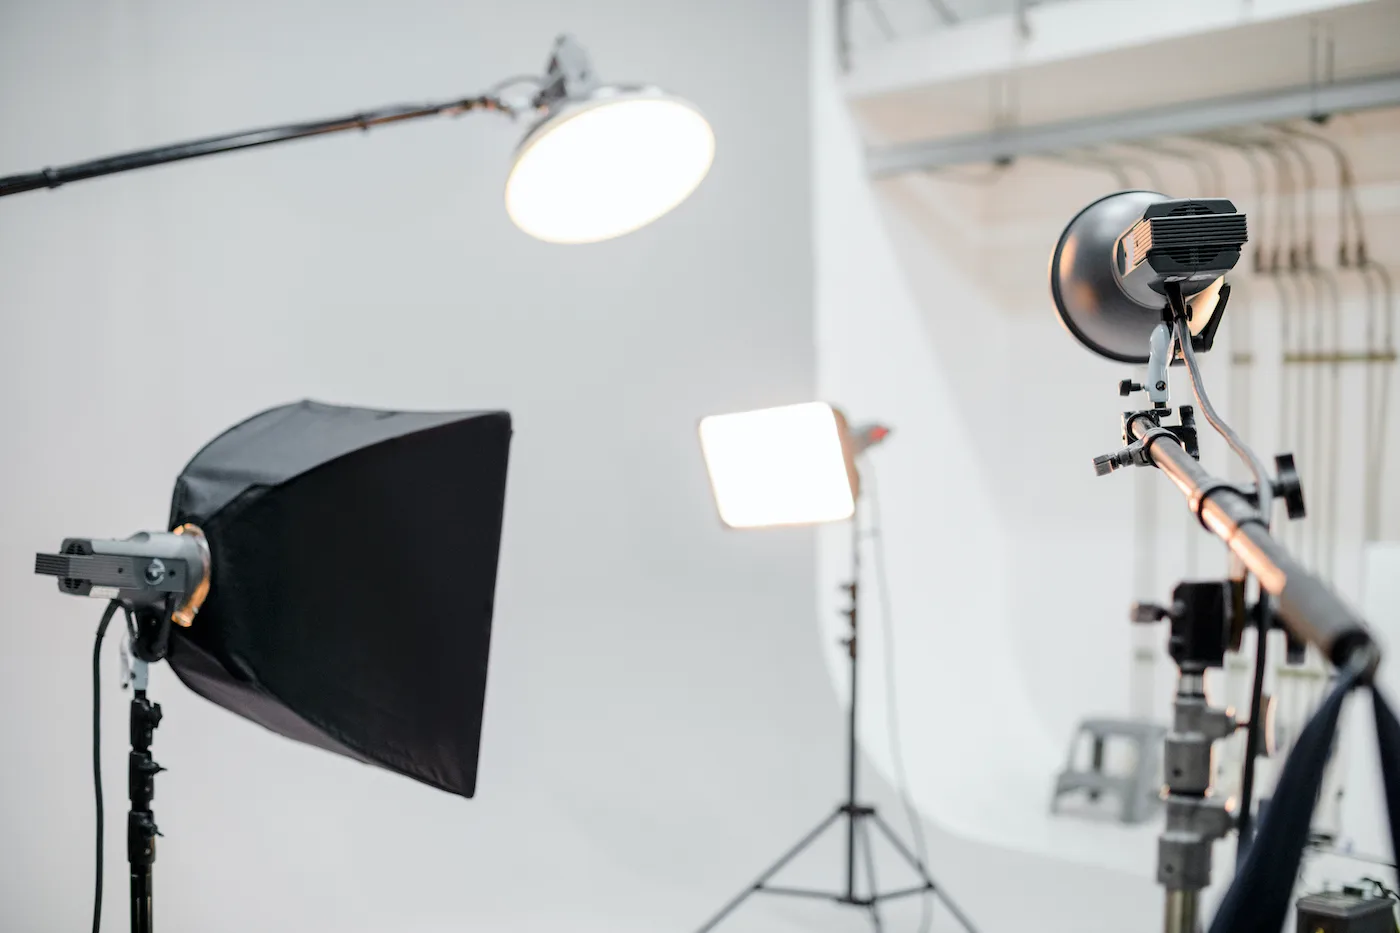
Brighter, More Viewability; 10 Tips for Better Lighting in Your Videos

Update date: Jan 24, 2022
One of the most important building blocks for producing excellent video content is lighting. There's nothing worse than video content with really bad lighting. We have compiled our article on Lighting Tactics for Perfect Video Content for you so that all your work does not go to waste and you do not lose the chance to impress your audience from the very beginning.
1. Shoot Throughout the Day and Look for Natural Light Sources for Best Indoor Lighting
When preparing to shoot at home, consider daylight for a soft light. natural
lighting is the easiest and most cost-effective light source you can think of. Choose the “golden hour” to shoot, the time just before sunrise or sunset to get perfect lighting. Make sure the light isn't too harsh or too dark, as either can ruin a good video. You can also choose a slightly cloudy day that is neither too dark nor too sunny. If you find that the sun causes you to squint, get a translucent white curtain to block out excess sunlight.
2. Create Three-Point Lighting for Low Dim Rooms
Another foundation of a great shooting setup is two- or three-point lighting, a blend of 2 or 3 lights. The first is the Key Light, which is the primary light and the strongest that provides most of the lighting for your video. It is the light source that highlights the subject and helps create dimension and detail. The key light should be placed directly in front of the subject, approximately 45 degrees above or 45 degrees to the right or left. Fill light usually eliminates shadows caused by the key light. This light source should be placed directly opposite it. One rule of thumb is to keep the fill light at about half the intensity of your key light so you don't end up with a flat shot because both lights are closely matched. Lastly comes the backlight, aka edge light, which should be placed between the key and fill light and completely outside the shot. A backlight distinguishes the subject from the background, creating depth and a soft glow in the background. It also prevents flat-looking shots. If you're shooting for your next high-quality YouTube, Vimeo, or any demo video, keep these rules in mind. The three-point lighting setup helps create good lighting for home videos as well as a perfectly balanced and controllable light distribution.
3. Turn on a Pair of Lamps for Perfect Indoor Lighting at Night
When shooting at night, you can use bulbs to distribute the light evenly. Find a balance between diffused but bright light. To be precise, place it at a 45-degree angle on either side of your face and lift it slightly above your eye line.
4. Try Inexpensive Lightweight Equipment for Video Content
Videographers who are on a budget and do not have professional lighting kits can invest in a few pocket-friendly products. Clamp lights, LED video light panels are generally inexpensive. You can also buy a second-hand product that is in good condition.
5. Try Affordable Color Filters for Different Color Tones
One of the great video lighting tips for beginners is to use colorful filters to create colorful lighting effects. Color filters are super useful items that help you get the best shot without paying too much. Basic heat-resistant color filters, such as blue gels, are inexpensive at any camera hardware store. Blue gels help transform a bulb's bright yellow hue into a soft, white filter.
6. Black Wrap Saves the Day!
Ideal for masking any light leaks and eliminating unwanted reflections, this lightweight range of studio aluminum foil is a real lifesaver for anyone looking to shoot on a shoestring budget. By wrapping the foil around the edges of the light source, you can gain precise control of your light and absorb unwanted reflections.
7. Don't Mix Your Lighting
Don't overwhelm yourself and your video with crazy amounts of mixed light. It's completely meaningless. Why would anyone consider messing with all the lights around their home, creating a devastating result!
8. Be Careful About Backlight
This even applies to your Zoom calls. Never overdo your backlight or it may backfire! It may look very artistic and cinematic, but for simple photos you can forget about it and focus more on your front light.
9. When Shooting Video Content Outdoors in the Sun, Shoot in the Shade
When shooting in the sun, it is very important to find a shade and work on yourself. Harsh lighting can make your face twitch, ruin your photo or video, and prevent your audience from engaging with your content. You never want your face to look weird and distorted.
10. Shoot under street lights when shooting outdoors at night
Shooting outdoors at night is much more difficult than shooting during the day. However, when it comes to being responsive to your customers, you have no choice but to shoot. And as expected, videos shot at night look dark, blurry and shadowy. But did you know that you can easily get rid of this mess?
If you are interested in this article, "How to Prepare a Quality Video?" You can read our article titled!
Reference: https://www.animatedvideo.com/blog/10-budget-lighting-tips-and-hacks-for-perfect-video/
Our Case Studies for Good Lighting